Monitor your first Windows host
Monitoring a Windows server with SNMP
In this tutorial, we're assuming that your Centreon platform is installed and running well.
Your Windows server will be monitored using the Windows SNMP Monitoring Connector. (More about Monitoring Connectors here).
Prerequisites
On the Windows server you want to monitor
The first step is to install and configure the SNMP service on the Windows host you want to monitor. Please refer to the documentation of your Windows distribution to find out how to configure the SNMP service.
Find below some steps to install and configure SNMP on Windows 10.
Installing SNMP on Windows 10
There are several ways to enable SNMP: from the Settings menu or by using PowerShell.
- From the Settings menu
- By using PowerShell
-
Go to Settings > Apps & features > Optional features.
-
Click Add a feature and search for SNMP:
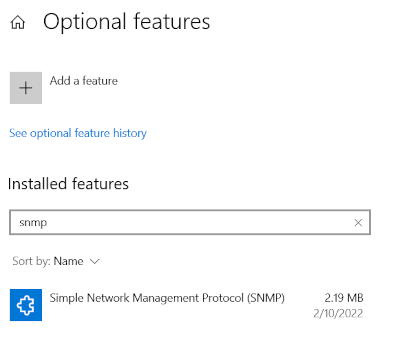
- Select Simple Network Management Protocol (SNMP) and click Install.
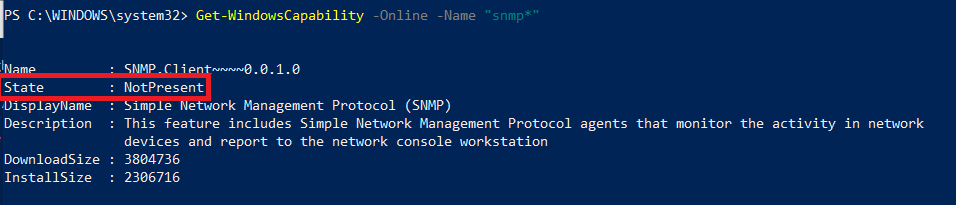
- Check if the SNMP service is installed:
Get-WindowsCapability -Online -Name "SNMP*"
- To install the SNMP service from Microsoft's servers, run the following command:
Add-WindowsCapability -Online -Name "SNMP.Client~~~~0.0.1.0"

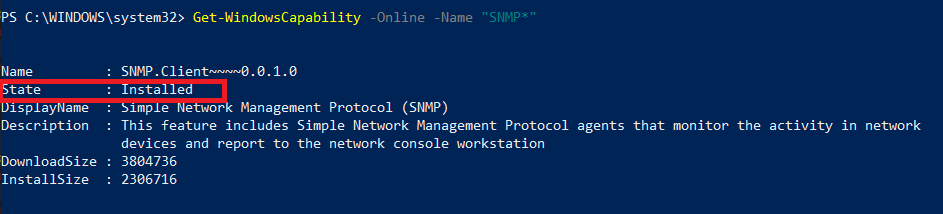
- Check if the SNMP service has been installed successfully:
Get-WindowsCapability -Online -Name "SNMP*"
Configuring SNMP on Windows 10
After installing SNMP, you need to configure it.
-
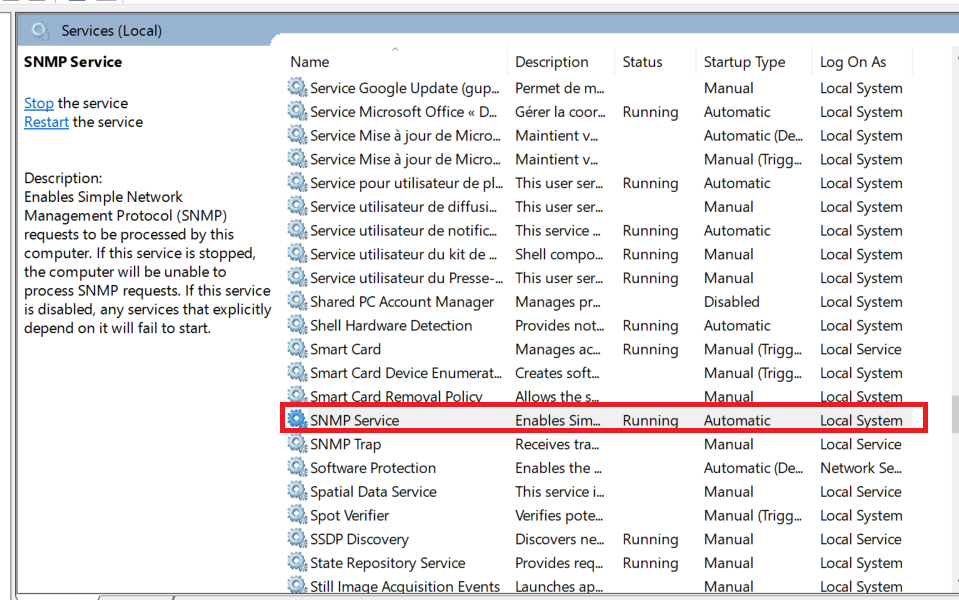
In the search bar, type services.msc and press Enter to launch the Services panel.
-
Look for the SNMP service in the list.
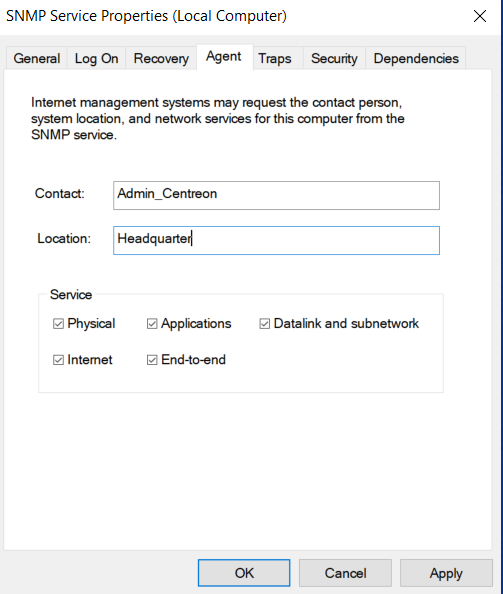
- On the Agent tab, fill in the Contact and Location parameters. Then, in the Service section, check the boxes for services from which you want to collect data for forwarding to the Centreon Poller that will monitor the host.
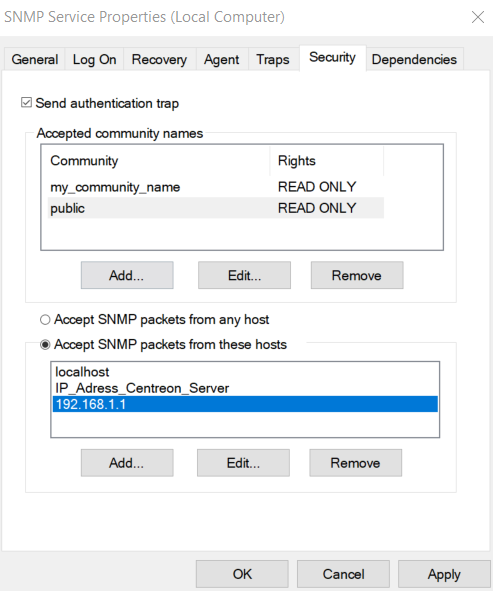
- On the Security tab, enter the SNMP community in the Accepted community names section and choose the READ ONLY option. Then select Accept SNMP packets from these hosts and add the IP address of the Centreon poller.
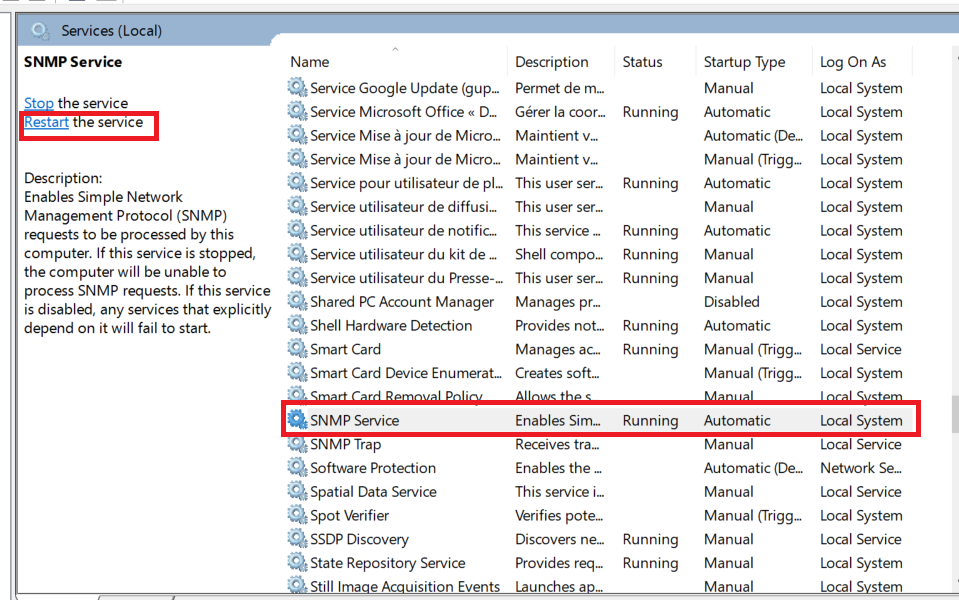
- Restart the SNMP Service:
In the user interface
In the user interface, go to Configuration > Connectors > Monitoring Connectors and install the Windows SNMP Monitoring Connector:
Configure the host and deploy the configuration
- Go to Configuration > Hosts > Hosts (simplified) and click Add:
-
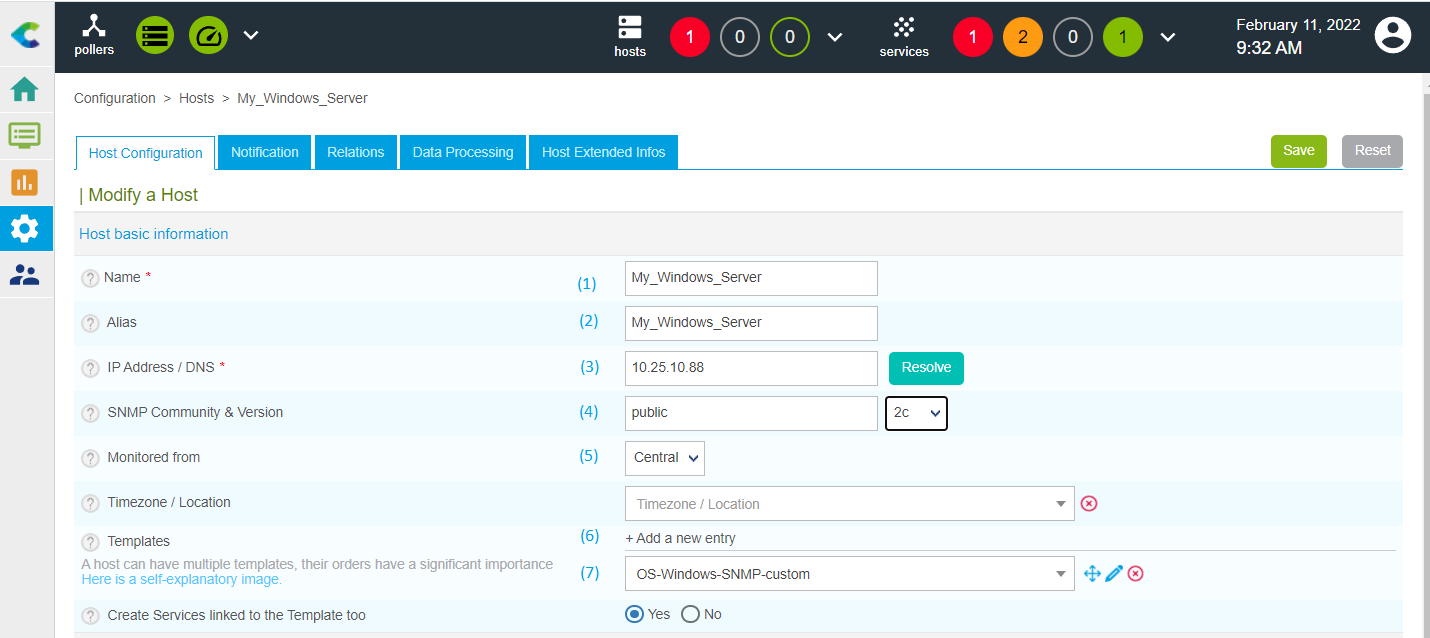
Input the following information:
- The name of the server (1)
- A description of the server (2)
- The IP address of the server (3)
- The SNMP version and community (4)
- Select the poller that will monitor your Windows server (5)
-
Click + Add a new entry in the Templates field (6), then select the OS-Windows-SNMP-custom template (7) from the list.
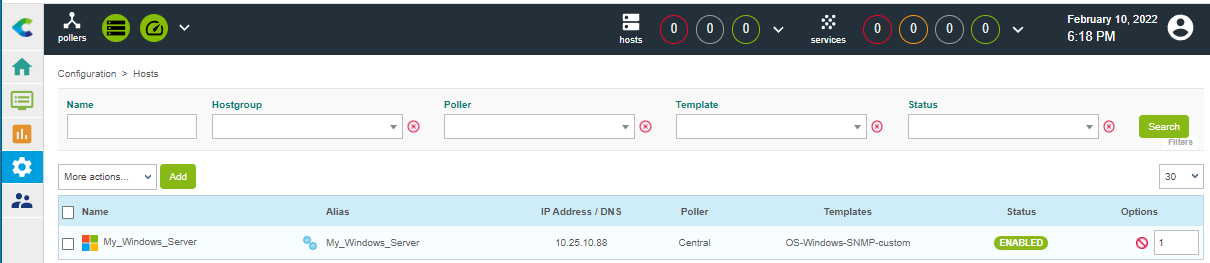
- Click Save. Your device has been added to the list of hosts:
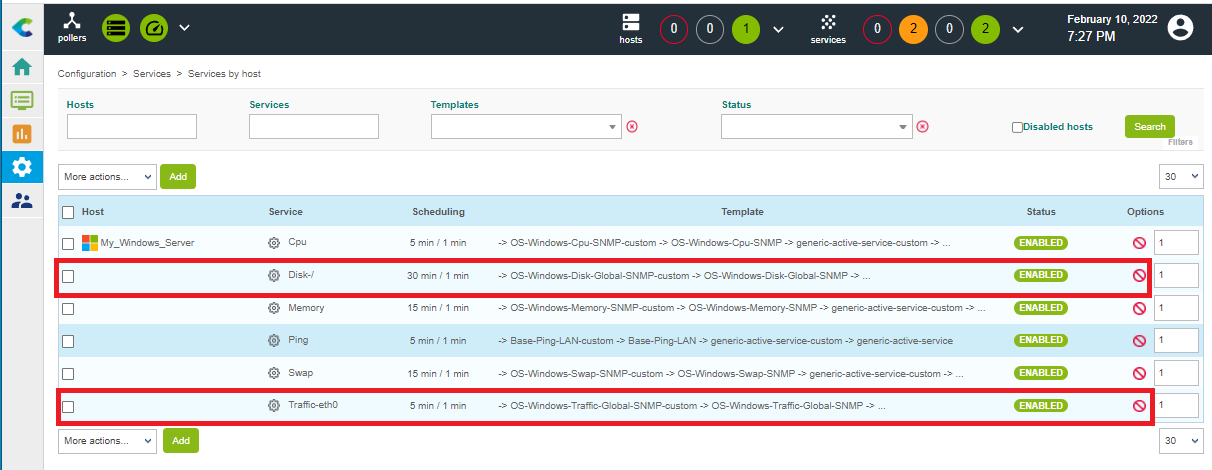
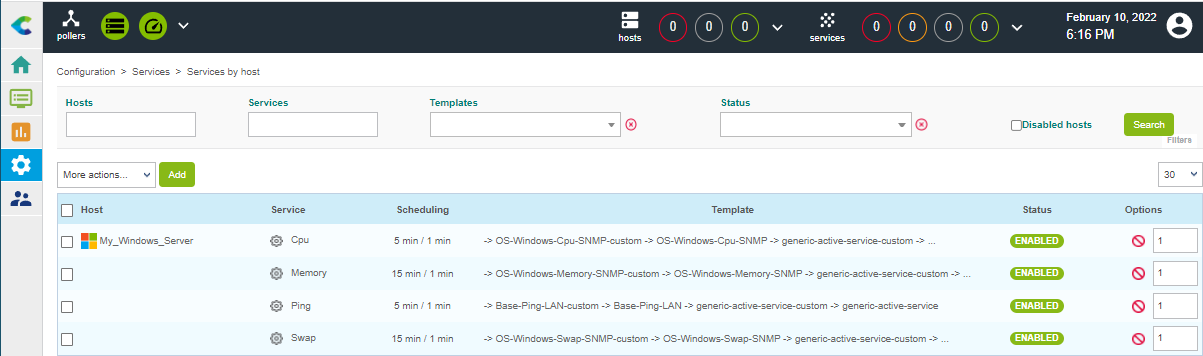
- Go to Configuration > Services > Services (simplified). A set of indicators has been automatically deployed:
-
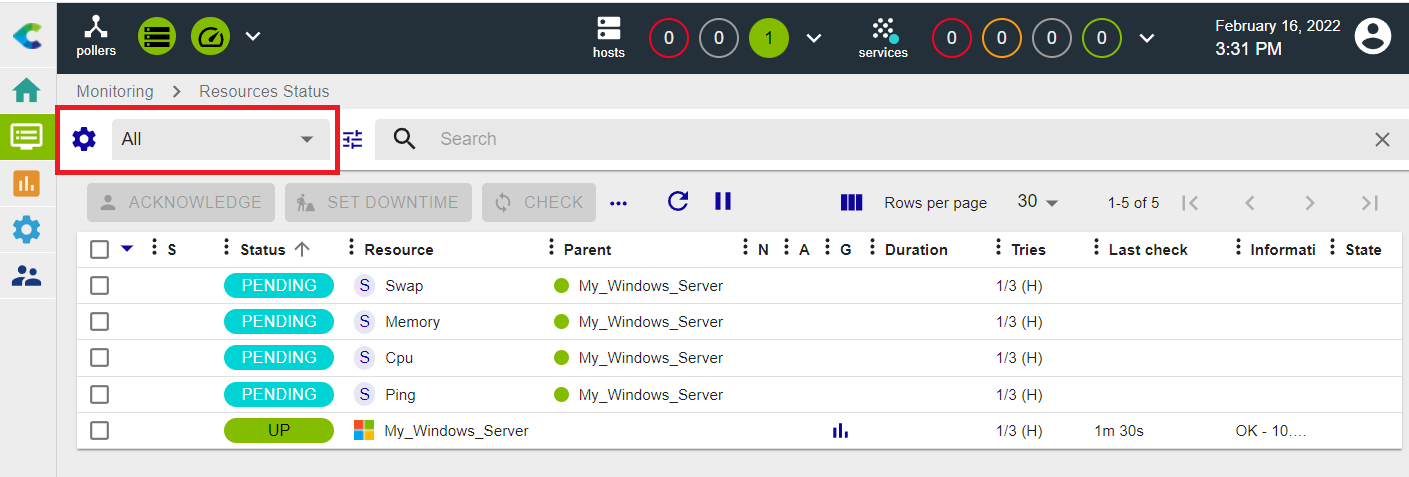
Go to Monitoring > Resources Status and select All from the Resource status filter. At first, the resources appear with the status Pending, which means that no checks have been executed yet:
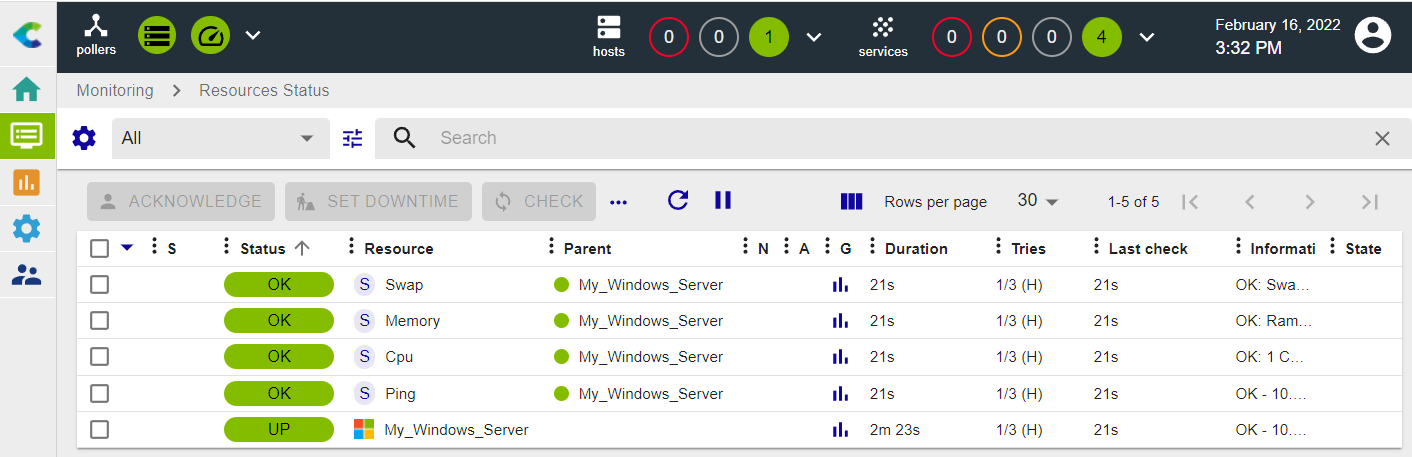
After a few minutes, the first results of the monitoring appear:
If not all services are in an OK state, check what is causing the error and fix the problem.
To go further
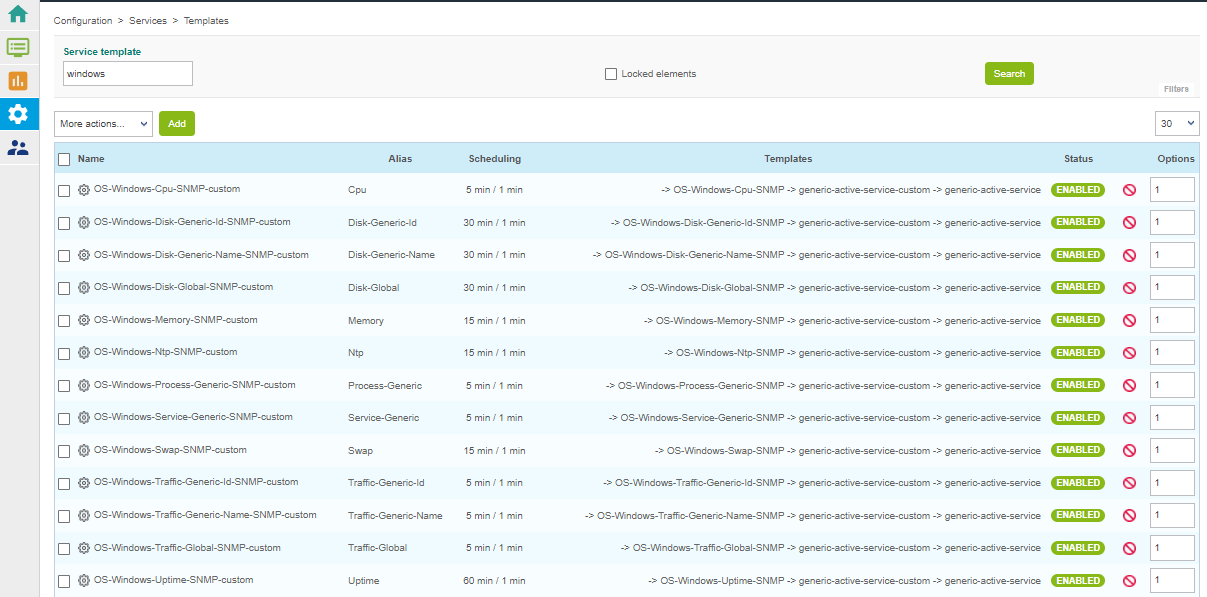
The Windows SNMP Monitoring Connector provides several monitoring templates. Go to Configuration > Services > Templates (simplified) to see the complete list:
With Centreon IT Edition you can add the monitoring of your network cards, partitions, processes and services very quickly and very simply using the Service Discovery feature.
-
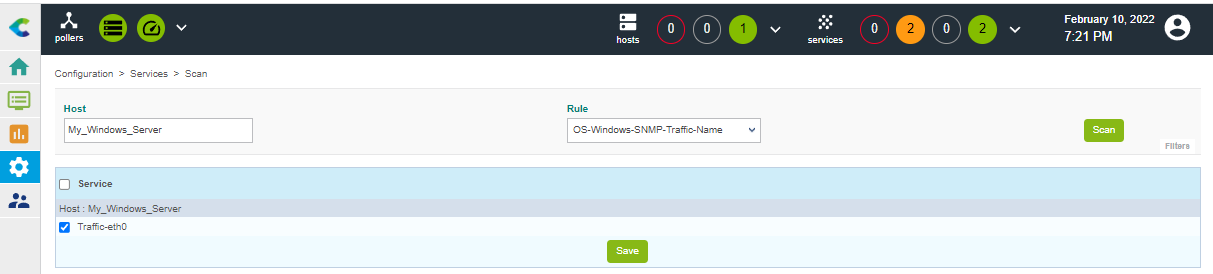
Go to Configuration > Services > Scan. Start entering the name of the host and the web interface automatically completes the name:

-
Select the discovery command to run from the list that has just appeared below the Rule field. Then click the Scan button and wait during the discovery. The result is displayed. Select items to add to the monitoring and click the Save button:
The item was added. You can select another discovery command below Rule and repeat the process.
-
The services are added and can be displayed in the Configuration > Services > Services (simplified) menu: