Web And Post Installation
Web installation
Log in to Centreon web interface via the URL http://<IP>/centreon.
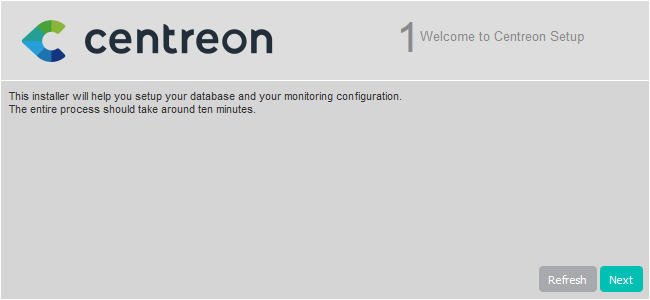
Step 1: Welcome to Centreon setup
The Centreon setup wizard is displayed. Click Next.
Step 2: Dependency check up
The needed modules and prerequisites are checked. They must be all satisfied. Click Refresh once the necessary corrective actions have been applied.
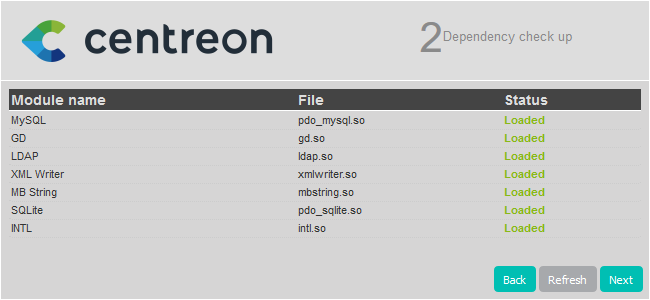
Then click Next.
Step 3: Monitoring engine information
Define paths used by the monitoring engine. We recommend using the defaults.
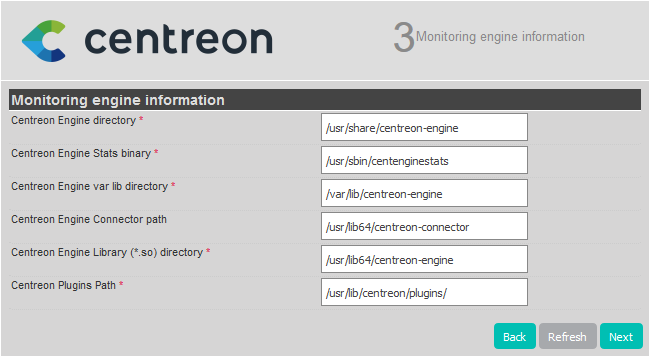
Then click Next.
Step 4: Broker module information
Define the paths used by the broker module. We recommend using the defaults.
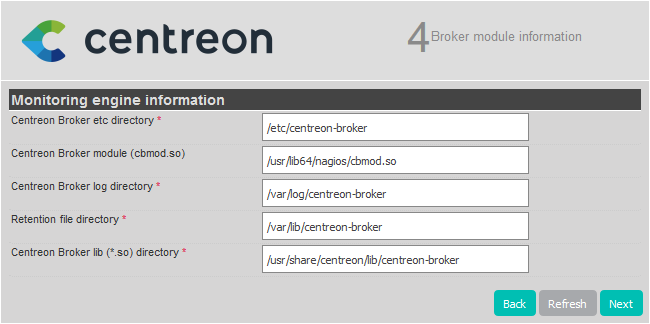
Then click Next.
Step 5: Admin information
Define the information needed to create the default admin account. This is the account you will use to log in to Centreon for the first time. The password must comply with the default password security policy: at least 12 characters, lower and upper case letters, numbers and special characters (at least one of these: @$!%*?&). You can change this policy later.
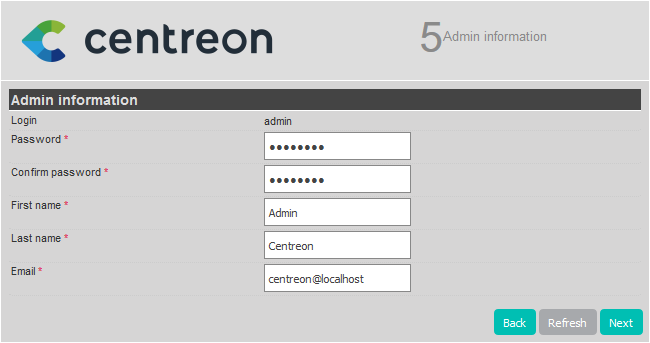
Then click Next.
Step 6: Database information
Provide the information needed to connect to the database instance.
-
Database Host Address: If you are using a local database, leave the field blank (the default value is localhost). Otherwise, enter the IP address of your remote database.
-
Root user/password: this is the account that will be used to install the databases.
- if this is the default account (root), the root password of the database is the password you have defined when executing
mysql_secure_installation. - if you have defined a custom user with root privileges on all databases (e.g. during the process of installing a remote database), use this one. This user can be deleted once the web installation process is finished.
- if this is the default account (root), the root password of the database is the password you have defined when executing
-
Database user name/password: the credentials of the account that will be used to interact with the Centreon databases. The account will be created when the database is installed.
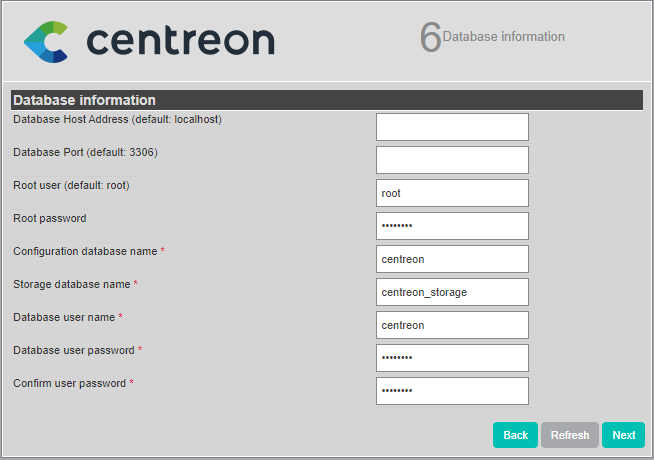
Then click Next.
Step 7: Installation
The Centreon setup wizard creates a configuration file and database structure:
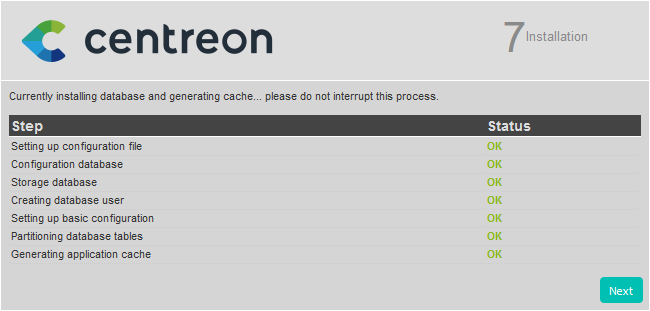
When done, click Next.
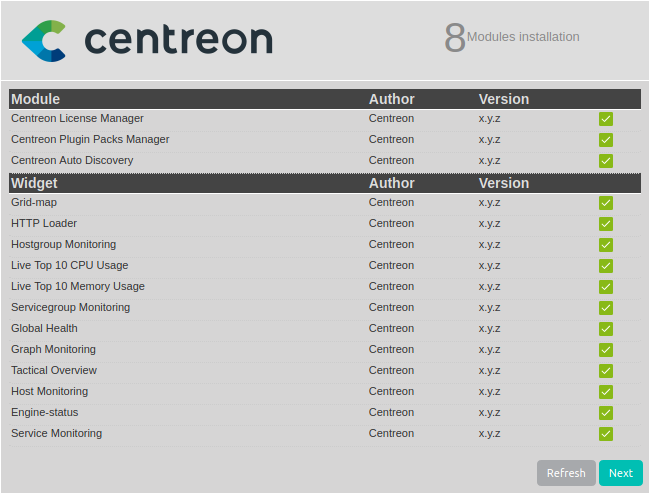
Step 8: Installation of the modules
Select the available modules and widgets to be installed. Then click Install.
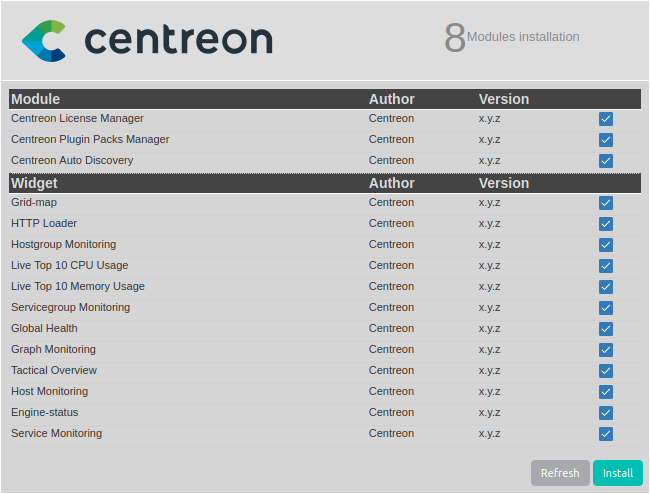
Once the installation is complete, click Next.
Step 9: Installation finished
At this point, an advertisement informs you of the latest Centreon news and products. If your platform is connected to the internet, the information you receive will be up to date. If you are not online, only information on the current version will be displayed.
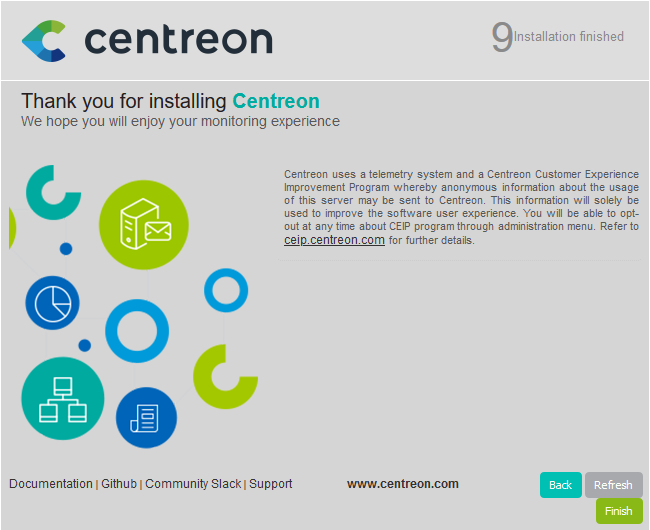
The installation is complete. Click Finish.
You can now log in using the admin account and initialize the monitoring.
Initialization of the monitoring
To start the monitoring processes:
-
From your web interface, go to Configuration > Pollers.
-
Select Central from the listing and click Export configuration.
-
Check Move Export Files in addition to the default selection and click Export.
-
In your terminal, log on to the Central server.
-
Start/restart collect processes:
systemctl restart cbd centengine -
Restart the task manager:
systemctl restart gorgoned -
Start the passive monitoring services:
systemctl start snmptrapd centreontrapd -
If you want to monitor this server, start the SNMP daemon:
systemctl start snmpd
Monitoring is now working. You can start monitoring your IT system.
Add a license
According to your Centreon edition, you may have to add a license.
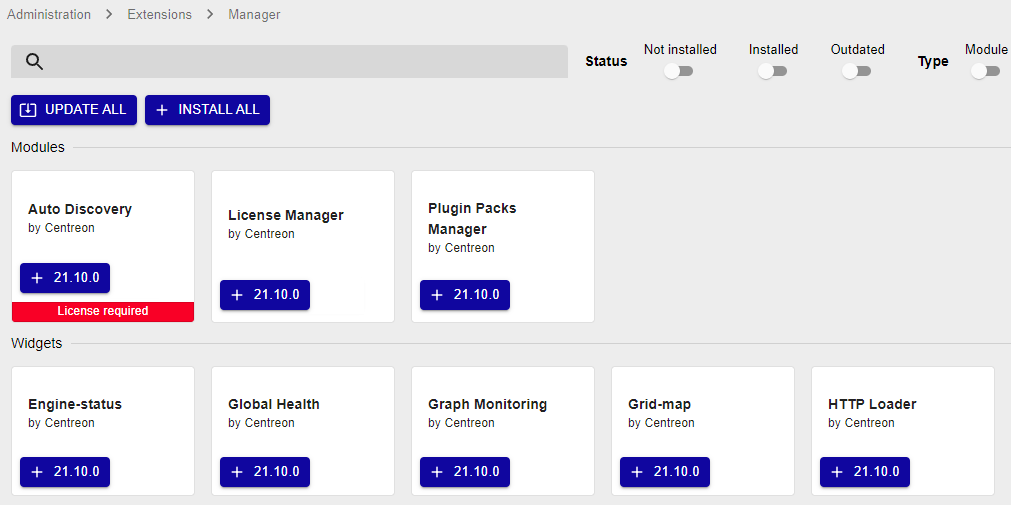
Install available extensions
Go to Administration > Extensions > Manager and click Install all:
Secure your platform
Remember to secure your Centreon platform following our recommendations.
Getting started
Go to the Getting Started chapter to configure your first monitoring.