Configuring Open Tickets
Configuration
Select a provider
The module offers many ready-to-use providers listed in the dedicated integration section.
Each provider has its own configuration, but a provider can be added in Centreon in the following way:
Go to the Configuration > Notifications > Open Tickets > Rules menu. Click on Add button:
Define Rule name and select Provider:

A new form appears: configure the provider.
Hosts & services
In order for resources (hosts and services) to receive a ticket number, it is necessary to add a personalized macro to them.
The best way is to create these macros in a host template and a service template inherited by all objects using models from which all resources will inherit.
Go to the Configuration > Hosts > Templates menu and look for the generic-active-host-custom template, and edit it. Add the macro TICKET_ID and click on Save:
Go to the Configuration > Services > Templates menu and look for the generic-active-service-custom template and edit this one. Add the macro TICKET_ID and click Save:
Widget configuration
To use the widget, you must add it into a custom view. Go to the Home > Custom Views menu, select your view and click the Add widget button.
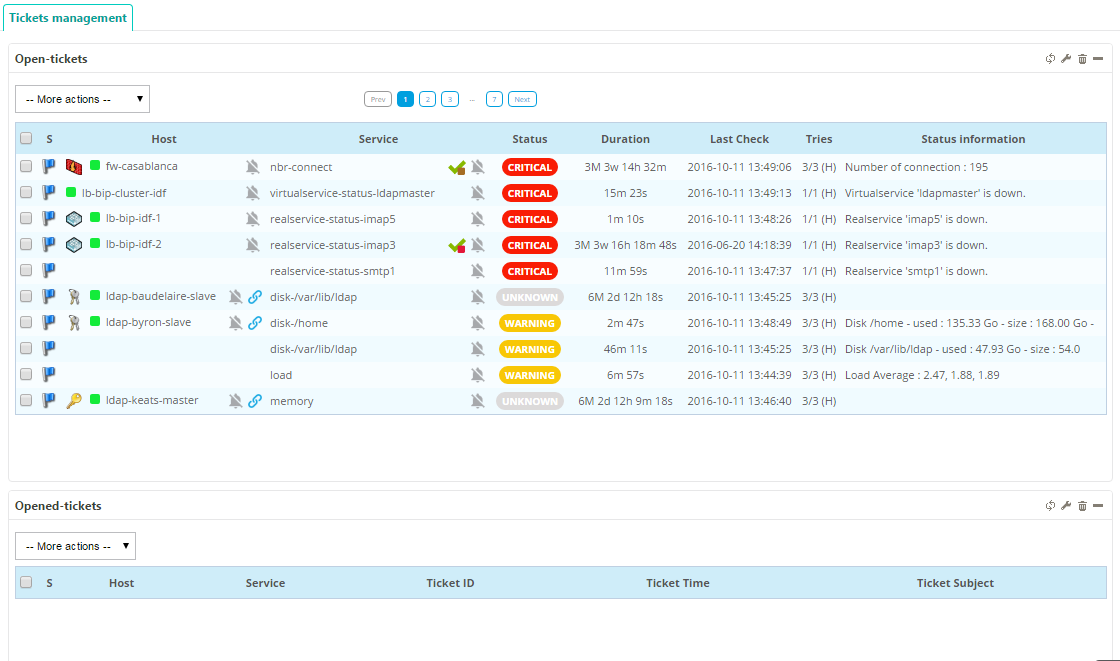
Define a title for your widget (for example: Open-Tickets) and select the Open Tickets widget. Apply the same procedure to add this widget again.
On the first widget, to open a ticket, click the Configuration button:
- Select the Rule previously defined
- Don’t check the Opened Tickets box
- Select other filters
- Don’t check the boxes Display Ticket ID and Display Ticket Time
On the second widget, to display opened tickets, click the Configuration button:
- Select the Rule previously defined
- Check the Opened Tickets box
- Select other filters
- Check the boxes Display Ticket ID and Display Ticket Time
User guide
Open a ticket
To open a ticket, select an object using its checkbox, and in the -- More actions -- menu, select the required action:

A popup appears to define a comment. Click the Open button to open a ticket:
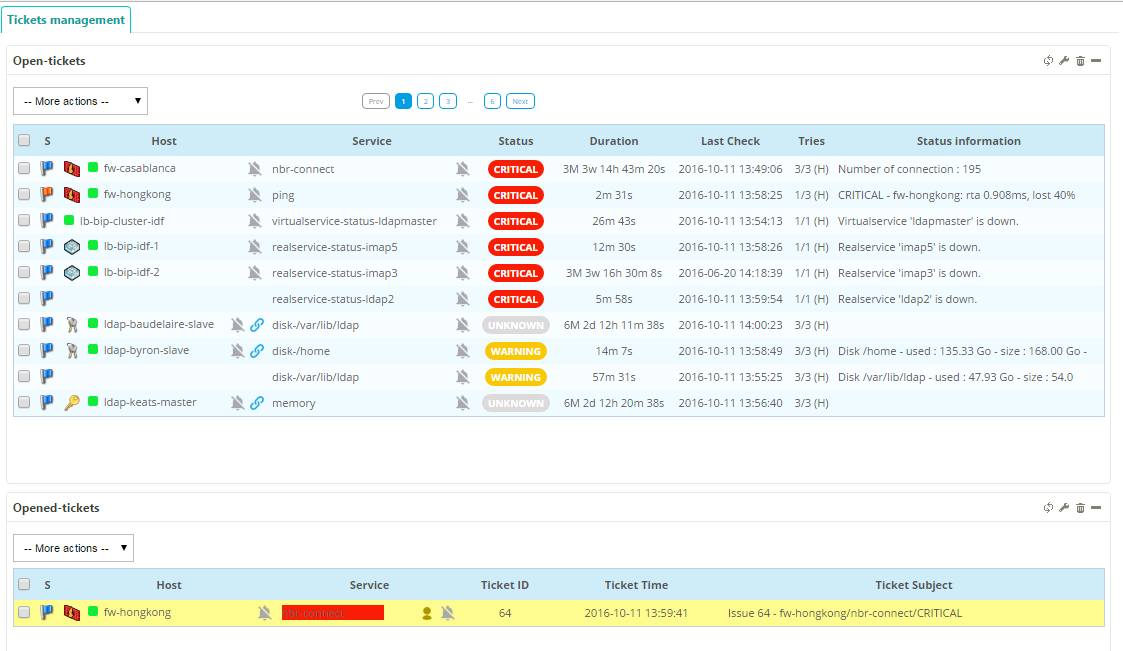
Once the ticket is created, the popup displays the ticket ID:
The selected objects disappear from the widget to open tickets:
Close a ticket
To close a ticket, select the object using its checkbox and in the -- More actions -- menu, select the required action:

The ticket is closed (only for Centreon):
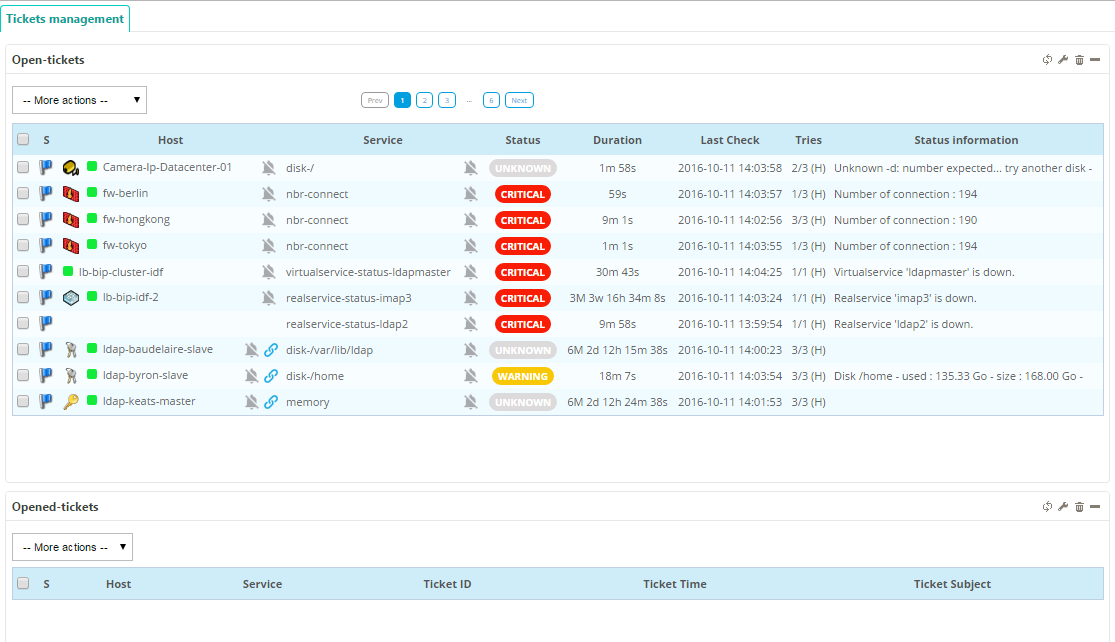
The selected objects disappear from the opened tickets widget:
Advanced configuration
This module offers ready-to-use providers. However, depending on the configuration of your ITSM, it may be necessary to modify these to adapt them to your environment.
List definition
Before opening a ticket, users can choose some options in a popup. An option is to create a selection list. In the configuration provider, you can configure it in Lists and Custom list definition. For each entry in Lists, you can define:
- Id: alphanumeric value (must be unique)
- Label: displayed in the popup
- Type: which kind of list. There are three kinds of list
- Provider lists (data directly from the ticketing software)
- Centreon lists (like Host group)
- Custom lists (data from Custom list definition configuration. Id fields must be identical)
- Mandatory: checked if the user needs to set the option
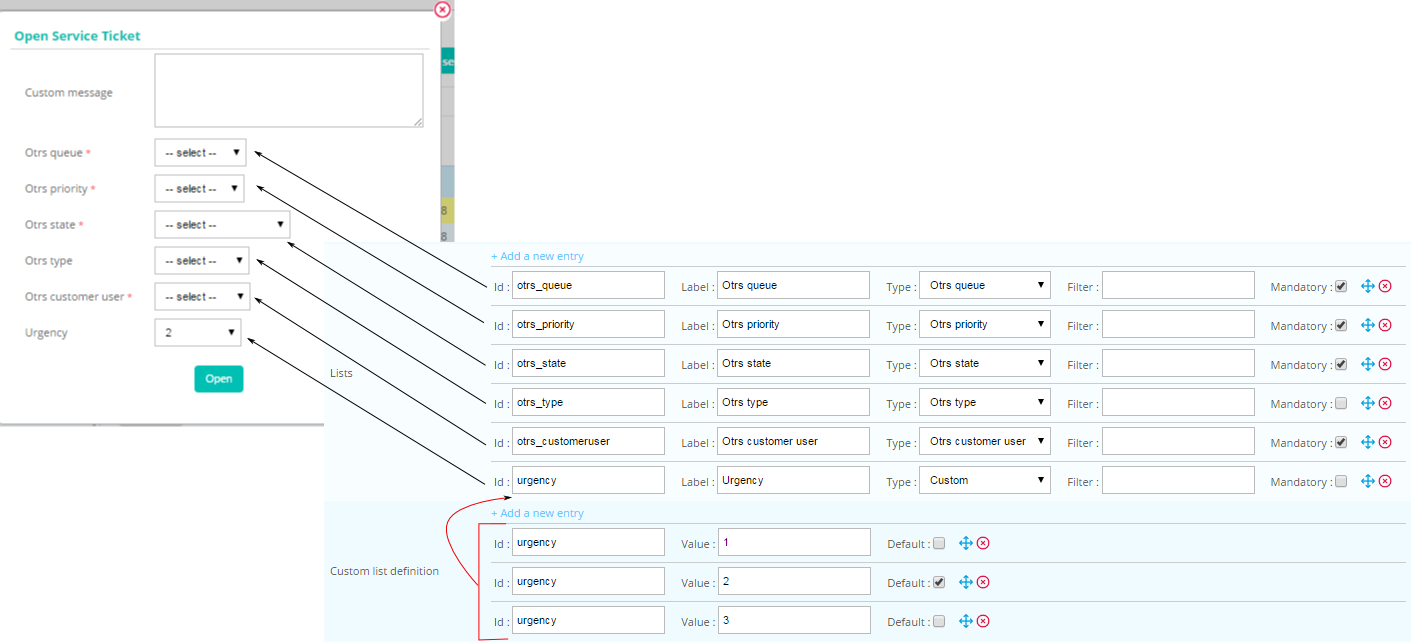
The module stores the user list selection in an array (can be used in a smart section like body or mapping ticket arguments). There are 3 fields (LIST_ID must be replaced):
- {$select.LIST_ID.id}
- {$select.LIST_ID.value}
- {$select.LIST_ID.label}
Chaining rules
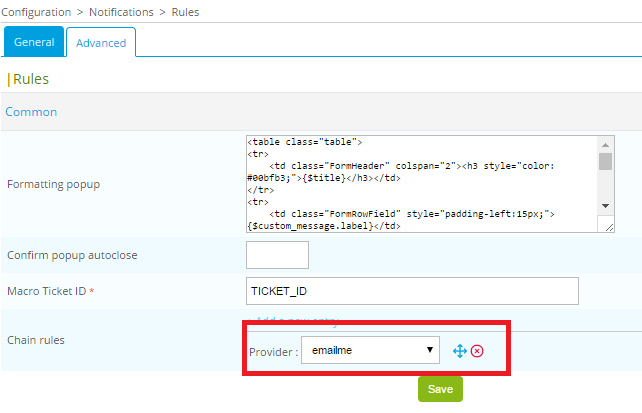
After opening a ticket, you may need to send an email. The chaining rules system is designed to do it:
- Create a new rule with the name emailme and the provider Mail
- Configure emailme in the rule of your opening system
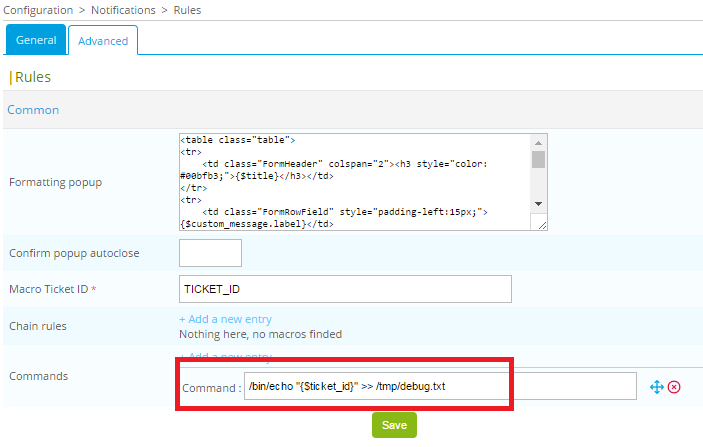
Commands
After opening a ticket, you can also configure some commands to be executed.
