Changing your Centreon account's settings
You can optimize the use of Centreon by using the following customization features:
Switch to dark mode
When you first connect to the interface, Centreon is displayed in light mode by default.
On the banner, click the profile icon and use the switch button to turn on dark mode. Next time you connect to the interface, the mode you previously selected remains on.
- Light mode:

- Dark mode:

Change the user interface language
On the banner, click the profile icon, then click Edit profile:

In the language selection box, choose your language:
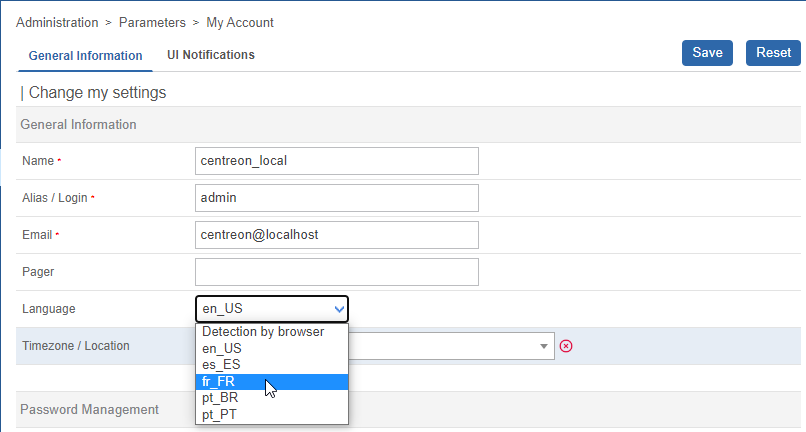
Then click Save. Your interface is now translated.
Reset your password
Only local accounts can change their password via the Centreon interface. If you connect using an identity provider, your password is the one you defined with your identity provider.
Reset your password before expiration
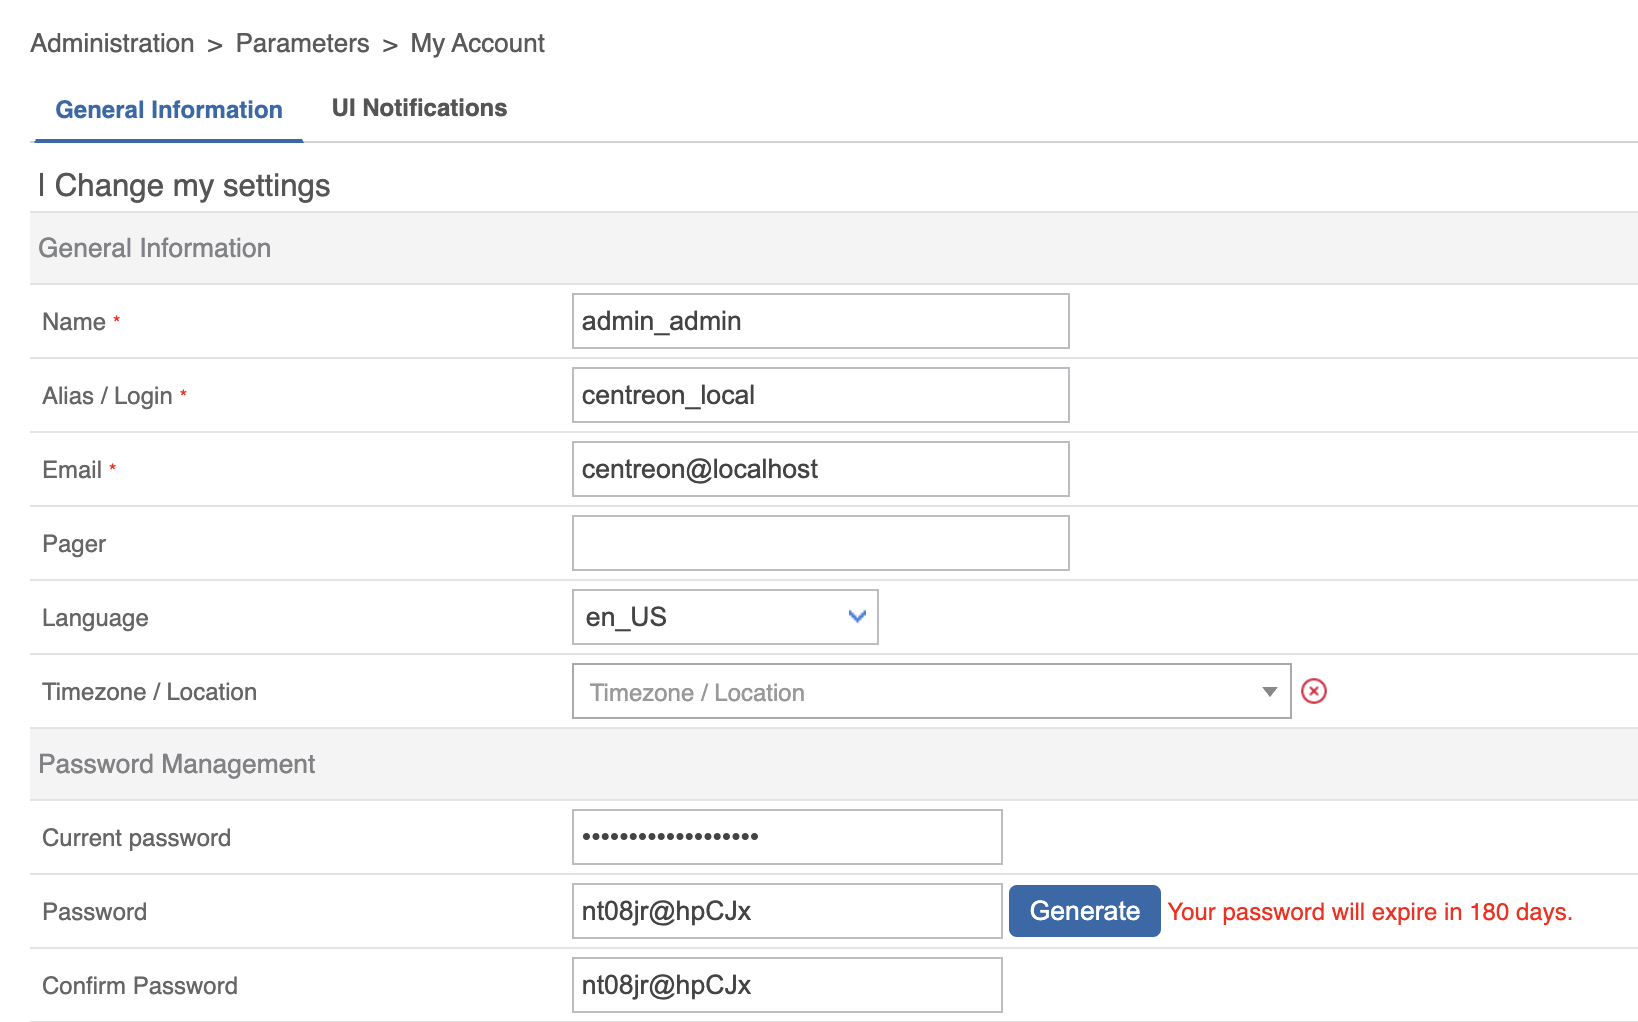
When your password is going to expire in the next 7 days, an orange dot appears in the banner on the right next to the profile icon:

Click Edit profile, then change your password by also entering your current password:
Reset your password when expired
If you have not changed your password before it expires, you will be redirected after login to a dedicated page where you can update it:
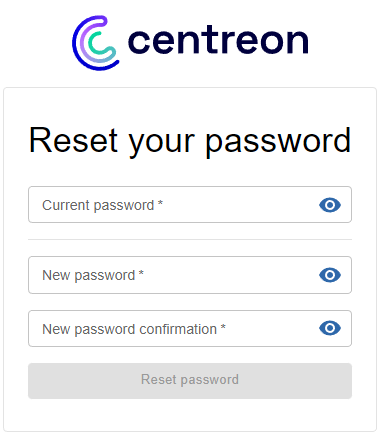
Input your current password, define a new one, and then click Reset Password.
Define a default page after login
You can configure the page that will be displayed by default when you connect to the interface, at the user level or at the contact template level. You can perform this procedure either from the interface or with CLAPI commands.
Using the interface
Follow this procedure to set a default page:
- For a user
- For a contact template
-
Go to the Configuration > Users > Contacts/Users page.
-
Select the user you want and click the Centreon Authentication tab.
-
In the Default page field, select the page name in the dropdown list. Then save your changes.
-
Go to the Configuration > Users > Contact Templates page.
-
Select an existing template or click the Add button to fill in the Add a User Template form.
-
In the Default page field, select the page name in the dropdown list. Then save your changes.
Users created from this template will see this default page when they log in.
Using CLAPI commands
First, you need the "topology page" number associated with the default page in the interface. In this example, we need the number associated with the Resource Status page.
- From your terminal, connect to MariaDB/MySQL and run the following command:
use centreon;
- Obtain the "topology page" number for the Resource Status page:
SELECT topology_page FROM topology WHERE topology_name = "Resources Status";
You should receive the following output:
+---------------+
| topology_page |
+---------------+
|           200 |
- Then follow this procedure to set a default page. Execute these commands with your customized credentials:
- For a user
- For a contact template
- By editing an existing user (where
200is the number associated with the Resource Status page):
centreon -u admin -p 'centreon' -o contact -a setparam -v "contact alias;default_page;200"
- By adding a new user (where
200is the number associated with the Resource Status page):
centreon -u admin -p 'centreon' -o CONTACT -a ADD -v "user;user;user@mail.com;mypassword;1;1;en_US;local;200"
Where 200 is the number associated with the Resource Status page:
centreon -u Admin -p 'centreon' -o CONTACTTPL -a ADD -v "new_template;new_template;user@mail.com;mypassword;1;1;en_US;local;200"