Notifications Telegram
Introduction
This documentation is brought to you thanks to our partner YPSI:
How it works
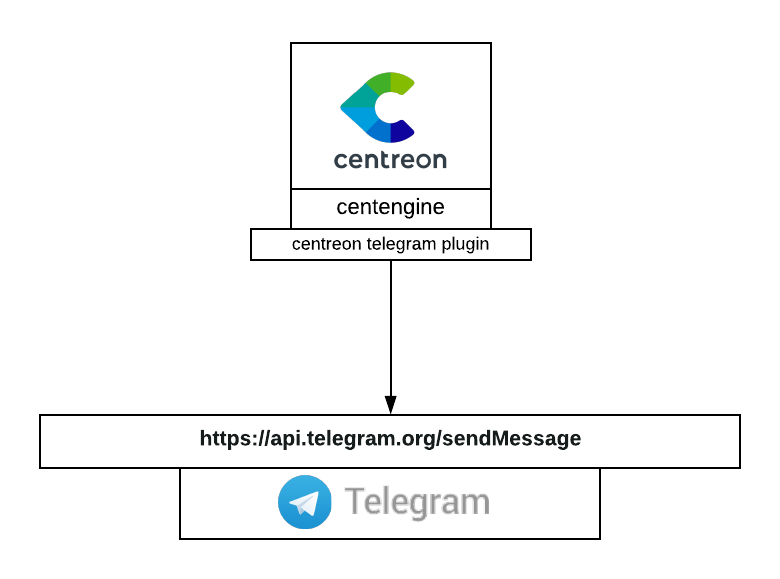
Telegram notifications connector uses the perl Centreon plugin to send notification through Telegram using their REST API
Installation
centreon plugin with telegram
First of all, you need the Centreon Telegram plugin to be installed on your Centreon server
yum install git
mkdir /usr/lib/centreon/git-plugins
cd /usr/lib/centreon/git-plugins
git clone https://github.com/centreon/centreon-plugins.git
Telegram configuration
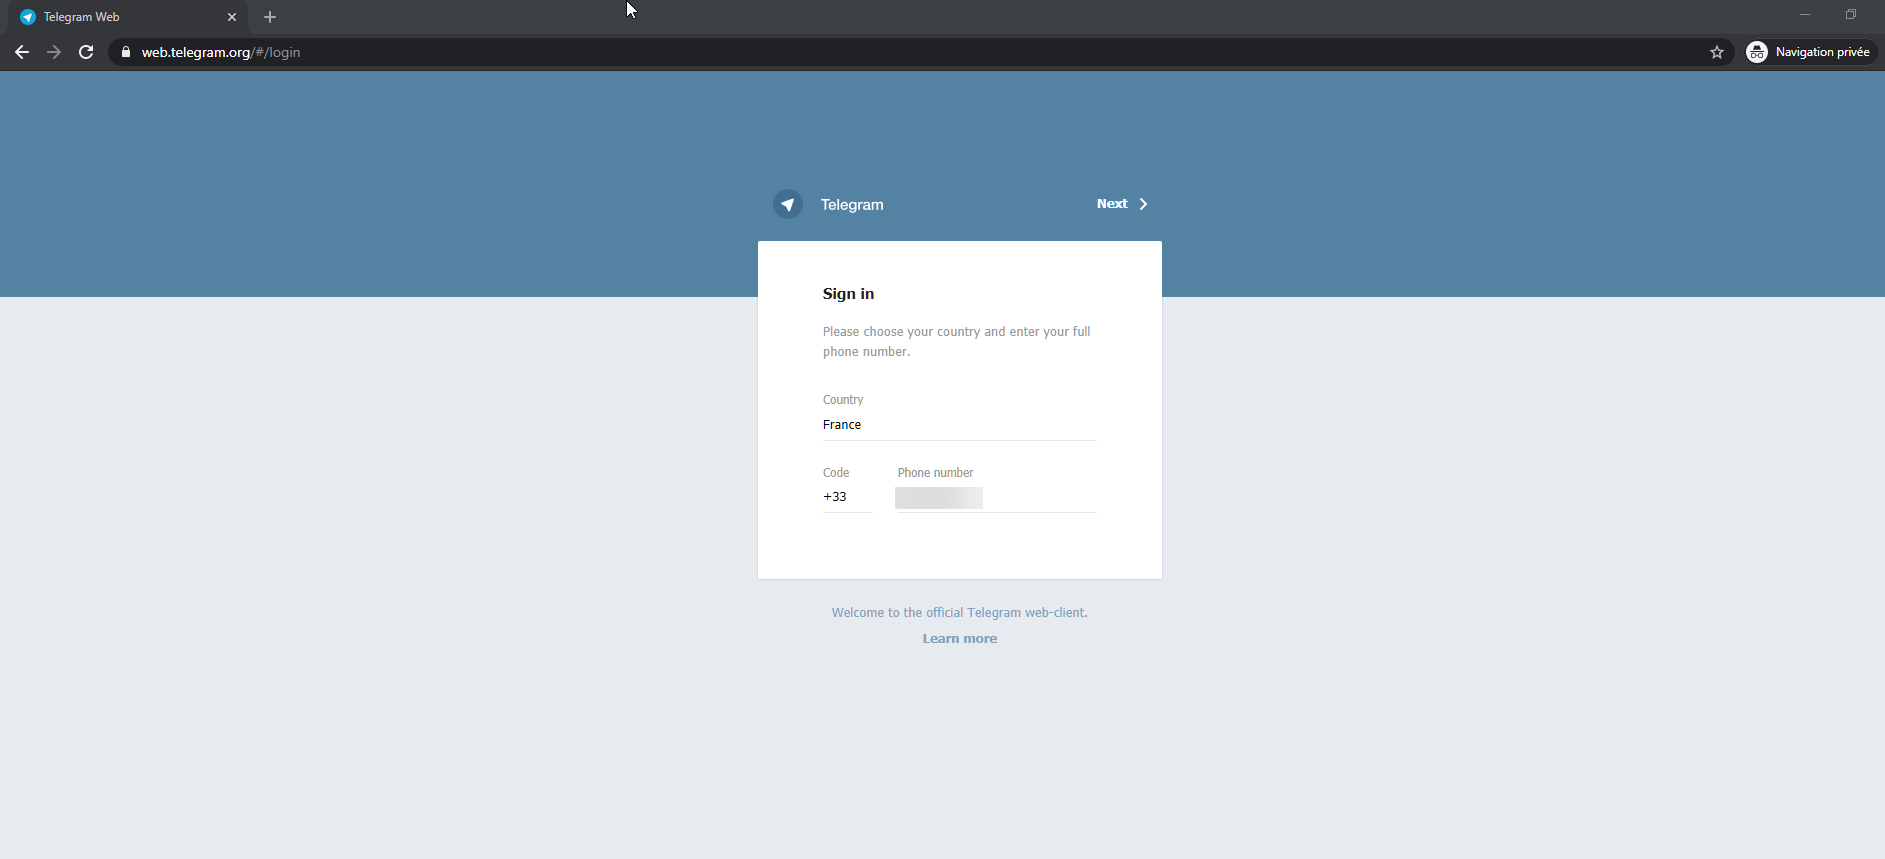
First of all, reach https://web.telegram.org and sign in
Then, proceed to talk to the BotFather and tell him the following command
/newbot
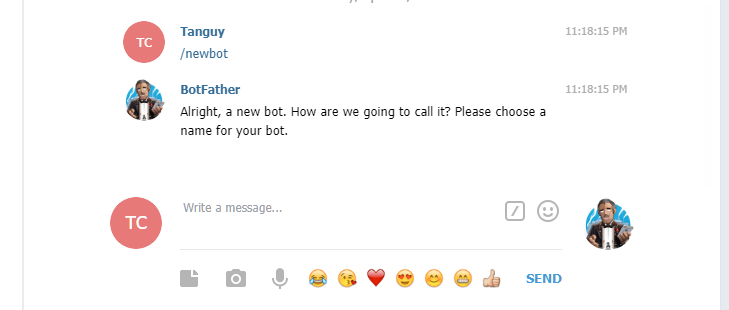
As asked by the BotFather, you need to give your bot a name and a username for your bot. This one must end with _bot. To avoid confusion, you can use the same name for both like shown in the picture below.
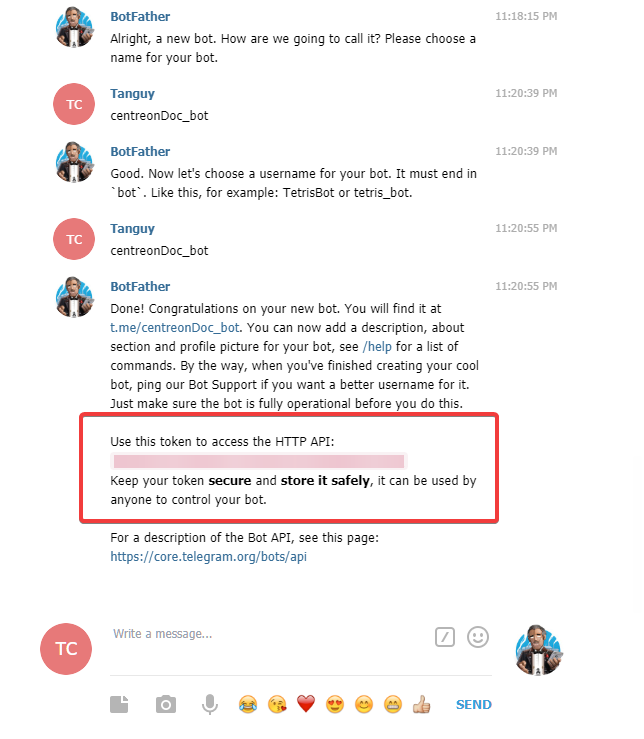
Like said by the BotFather, it is very important that you save your token. We are going to need it to send notifications later on.
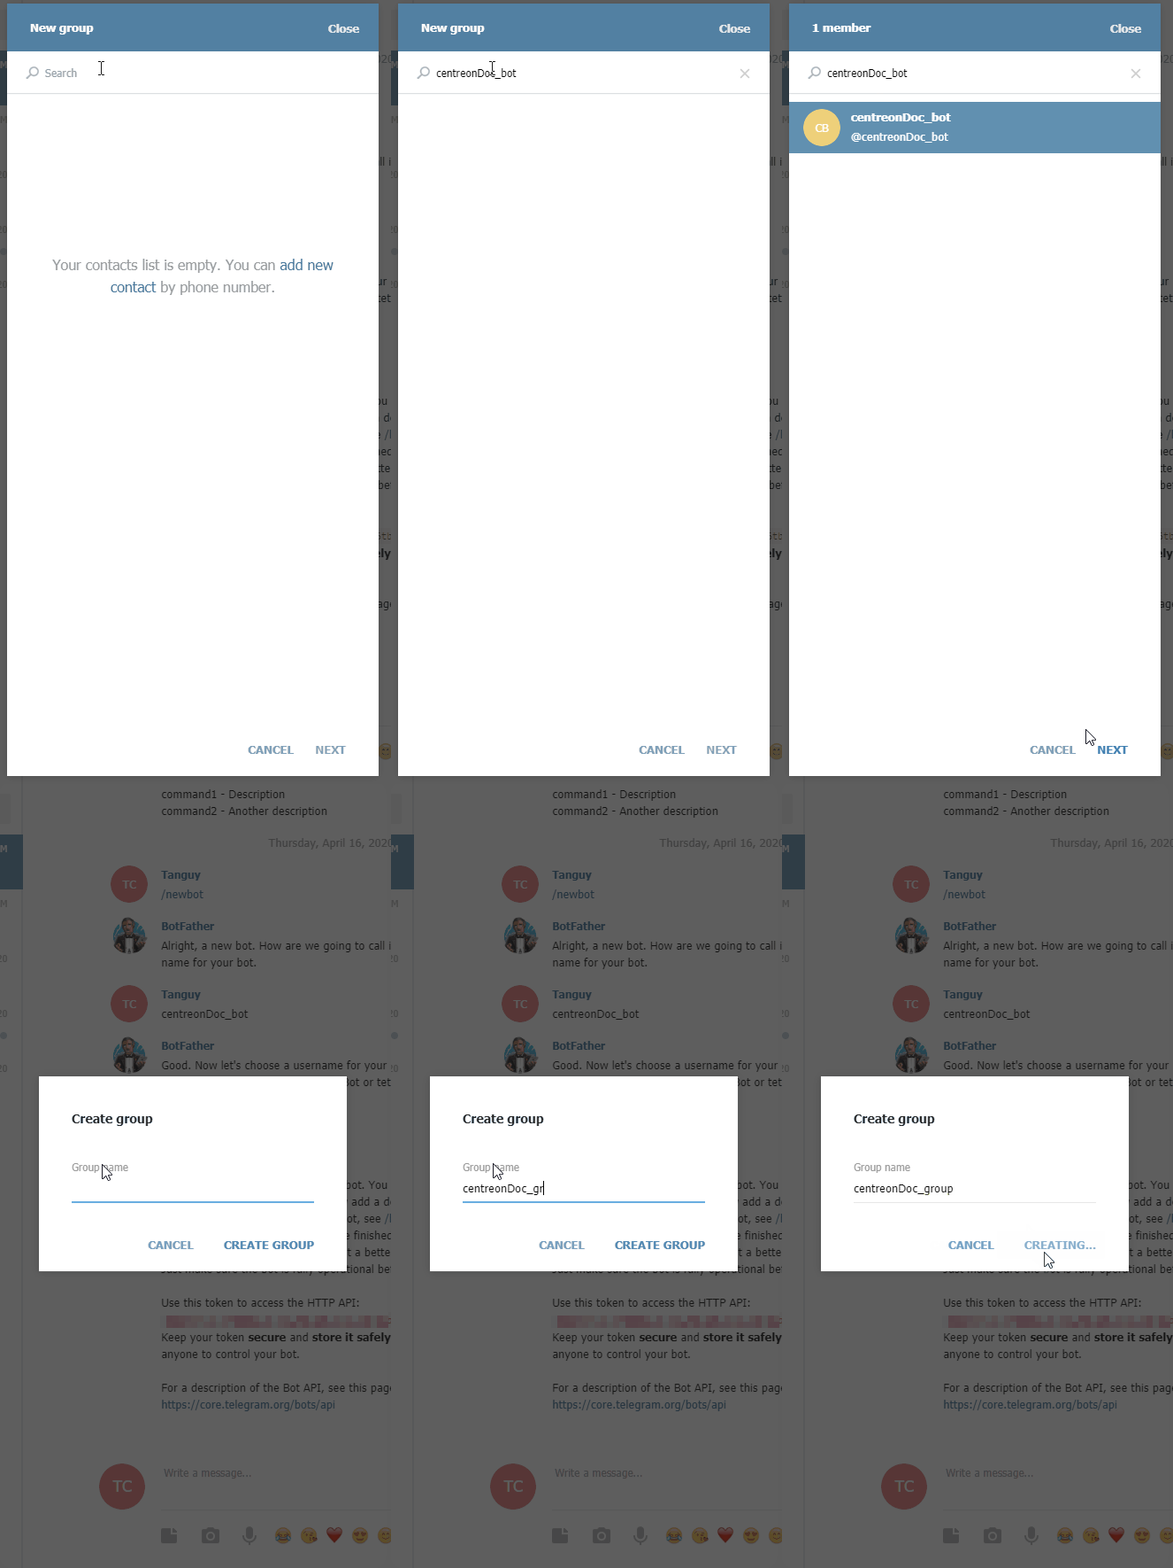
Now we need to create a new group. To do so, use the telegram menu as follow

When creating your group, add your bot to it
Configuration
Get your chat-id from telegram
On the telegram webapp page, click on the group previously created to obtain a chat-id from URL

for example, if the url is as follow: https://web.telegram.org/#/im?p=g123456 then, your chat-id is 123456.
Note that while 123456 is your chat-id, you'll need to use -123456 in your configuration otherwise it won't work
Command creation in Centreon
Service notification command
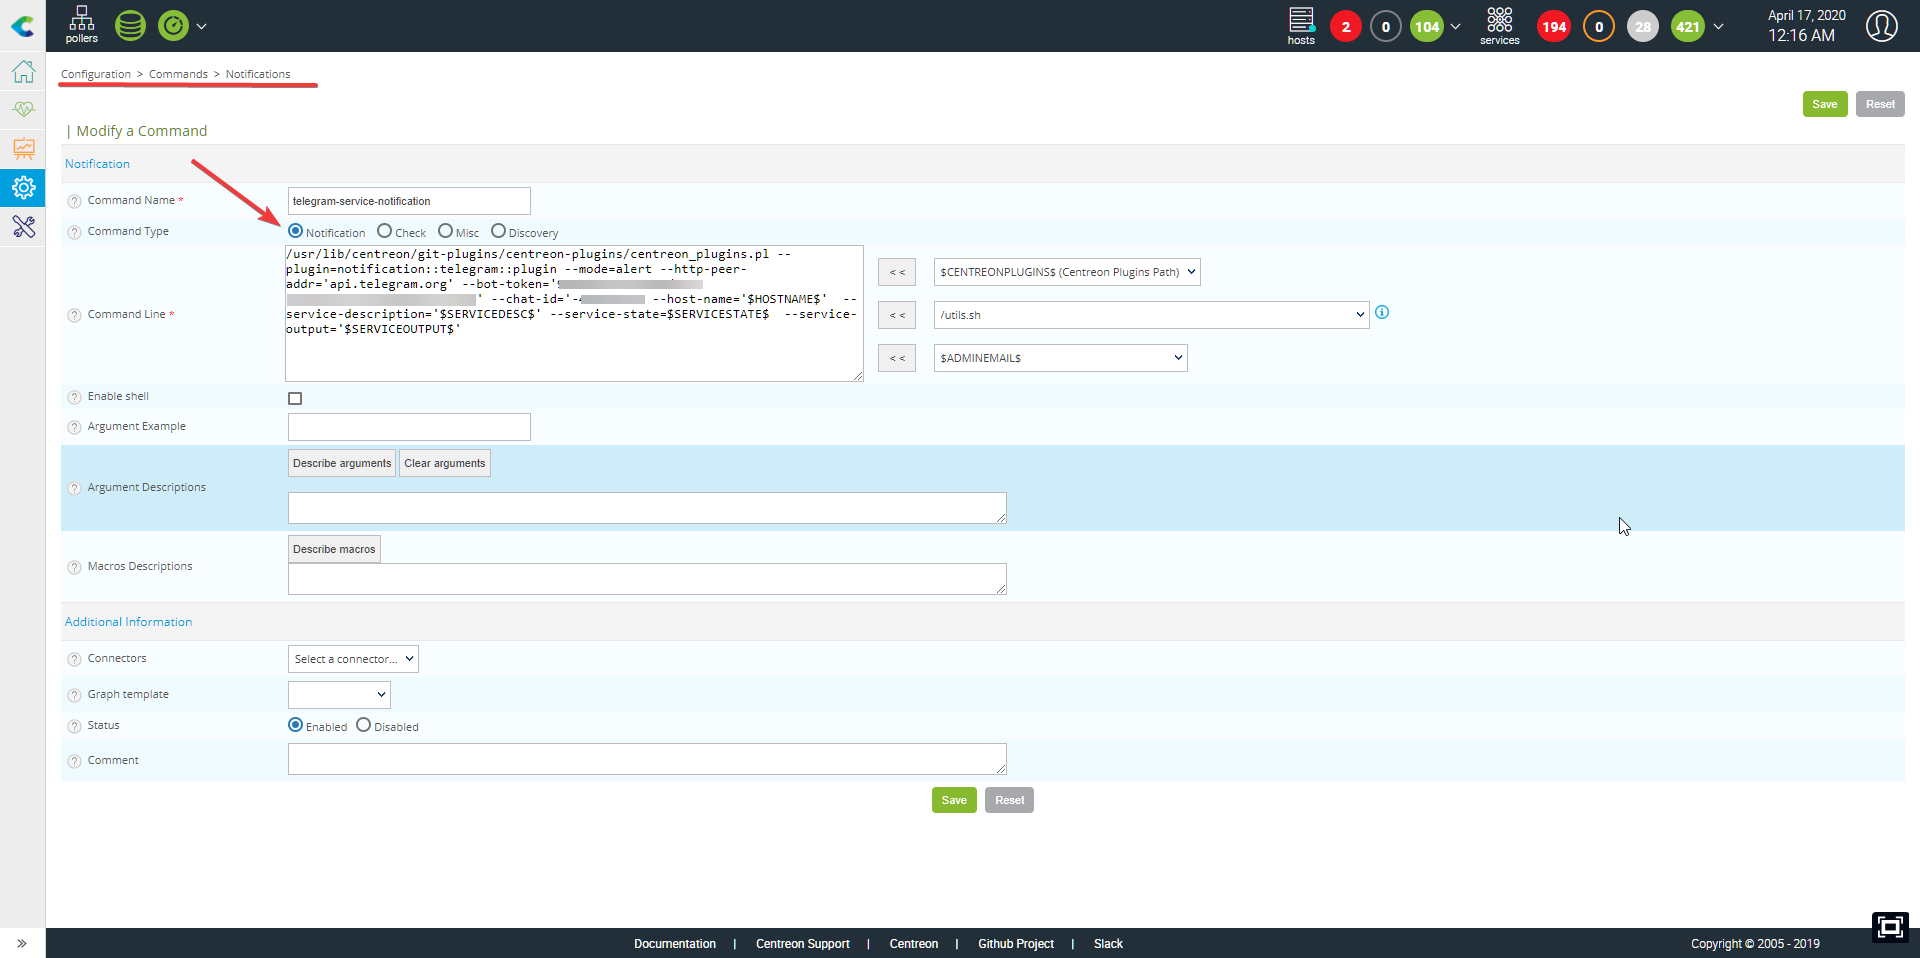
/usr/lib/centreon/git-plugins/centreon-plugins/src/centreon_plugins.pl \
--plugin=notification::telegram::plugin \
--mode=alert \
--http-peer-addr='api.telegram.org' --bot-token='xxxxxxxxxxxxxxxxxxxxxxxxxxxxxxxxxxx' \
--chat-id='-xxxxxxxxxx' --host-name='$HOSTNAME$'  --service-description='$SERVICEDESC$' --service-state=$SERVICESTATE$ \
--service-output='$SERVICEOUTPUT$'
Host notification command
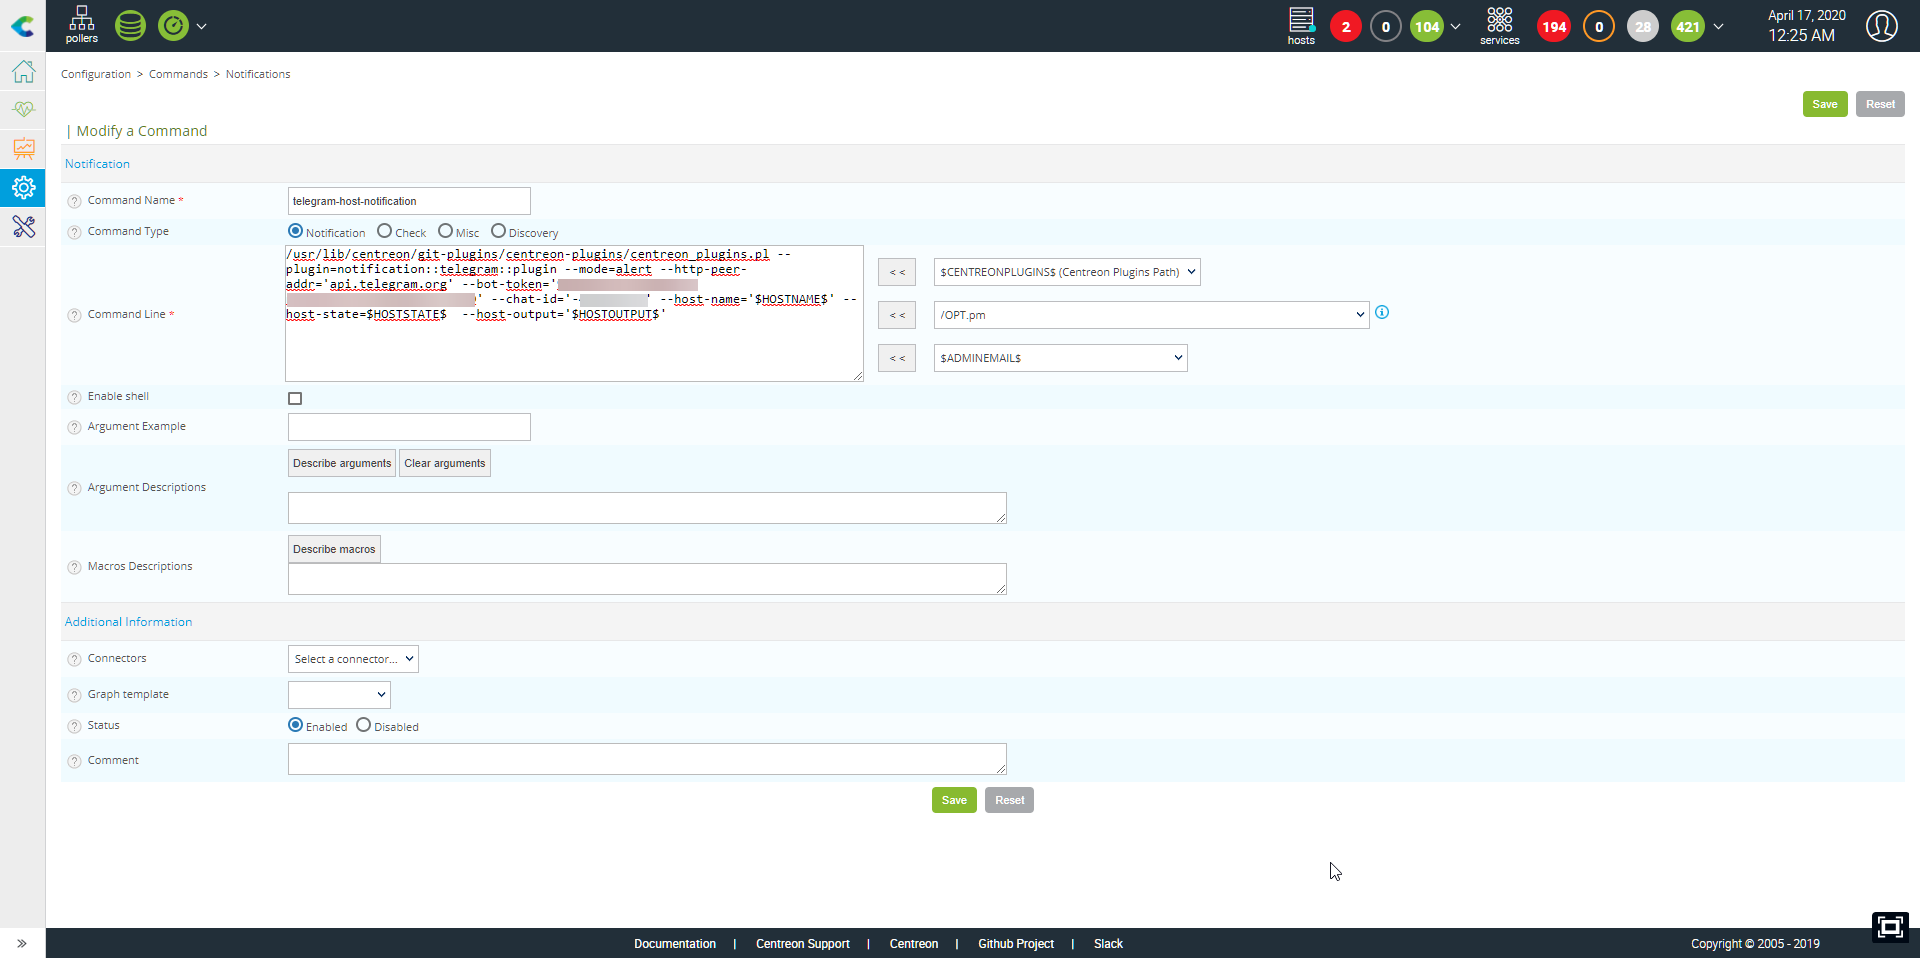
/usr/lib/centreon/git-plugins/centreon-plugins/src/centreon_plugins.pl \
--plugin=notification::telegram::plugin \
--mode=alert \
--http-peer-addr='api.telegram.org' \
--bot-token='xxxxxxxxxxxxxxxxxxxxxxxxxxxxxxxxxxxxxxx' \
--chat-id='-xxxxxxx' \
--host-name='$HOSTNAME$' \
--host-state=$HOSTSTATE$  \
--host-output='$HOSTOUTPUT$'
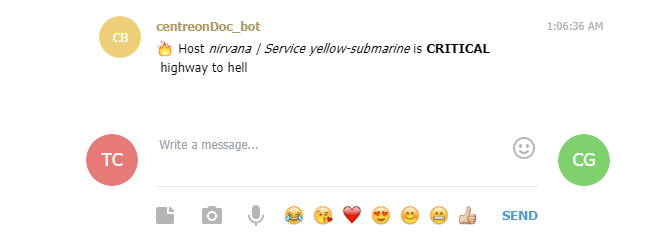
Example
/usr/lib/centreon/git-plugins/centreon-plugins/src/centreon_plugins.pl \
--plugin=notification::telegram::plugin \
--mode=alert \
--http-peer-addr='api.telegram.org' \
--bot-token='xxxxxxxxxxxxxxxxxxxxxxxxxxxxxxxxxxx' \
--chat-id='-xxxxxxxx' \
--host-name='nirvana' \
--service-description='yellow-submarine' \
--service-state=CRITICAL
--service-output='highway to hell'
/usr/lib/centreon/git-plugins/centreon-plugins/src/centreon_plugins.pl \
--plugin=notification::telegram::plugin \
--mode=alert \
--http-peer-addr='api.telegram.org' \
--bot-token='xxxxxxxxxxxxxxxxxxxxxxxxxxxxxxxxxxx' \
--chat-id='-xxxxxxx' \
--host-name='REM' \
--host-state=DOWN \
--host-output='let the sky fall'

Message options
When sending your notification you can add various options that you can list using the --help option of the Centreon plugin.
Below are some of the available options:
| Options | Explanation | Example |
|---|---|---|
| --centreon-token | an autologin token from centreon | |
| --centreon-url | the centreon url | |
| --graph-url | graph url. You can use the above options as macro here | %{centreon_url}/include/views/graphs/generateGraphs/generateImage.php?username=myuser&token=%{centreon_token}&hostname=%{host_name}&service=%{service_description} |
| --link-url | a link url | %{centreon_url}/main.php?p=20201&o=svc&host_search=%{host_name}&svc_search=%{service_description} |
| --proxyurl | the url to your proxy if needed |
All options can be displayed with the following command:
/usr/lib/centreon/git-plugins/centreon-plugins/src/centreon_plugins.pl \
--plugin=notification::telegram::plugin \
--mode=alert \
--help