Centreon NSClient++
Introduction
NSClient++ (also known as NSCP) aims to be a simple yet powerful and secure monitoring daemon. It can be used in many scenarios where you want to receive/distribute check metrics.
The daemon has some basic features:
- Allow a remote machine (monitoring server) to request commands to be run on this machine (the monitored machine) which return the status of the machine.
- Submit the same results to a remote (monitoring server)
- Take action and perform tasks
- Submit metrics and real-time data to a central repository
Centreon provides a fully custom and re-packaged version of the NSClient++ agent, named centreon-nsclient. Additionally to the agent native features, it allows to monitor applicative indicators such as Hyper-V, Active Directory, WSUS, SCCM, Microsoft Exchange, Veeam and many others, thanks to the usage of a specific release of the Centreon Plugins for Windows.
These Plugins, parts of the centreon-plugins project are provided as a standalone and Windows compatible package named centreon_plugins.exe. This executable file is automatically deployed during the agent installation and ready to use afterwards.
The list of the Monitoring Connectors that can be used with the centreon-nsclient agent is avaiblable on the official Centreon Monitoring Connectors catalog
The following tutorial will help you to understand how to use the centreon-nsclient agent on your Windows servers.
Support policy and release cycle
Centreon only supports the custom Centreon Plugins package provided through the centreon-nsclient agent. For any issue related to NSClient++ itself, please refer to the official documentation.
Centreon will publish a new release of the custom Plugins (centreon_plugins.exe and check_logfiles.exe) including new monitoring capabilities as well as bugfixes every month. An updated version of the centreon-nsclient installer (for new installations) including the last versions of the Plugins will also be available on a montlhy basis.
On existing installations, you will only have to update the Plugins, not the agent itself. To do so, read the Update chapter of this tutorial.
Download
Both the installer and the packaged Centreon Plugins are available on the centreon-nsclient Github project page. Look for the latest release and download the relevant files according to the target server environment (x86 or x64):
- For new installations: download the
Centreon-NSClient-0.5.x.xx-YYYYMMDDinstaller - To update an existing agent: download the
centreon_plugins_YYYYMMDD_*\*\*_.exe&check_logfiles_x.x.x_\*\*\*.exebinaries
Installation
This chapter is related to a fresh installation of the centreon-nsclient agent.
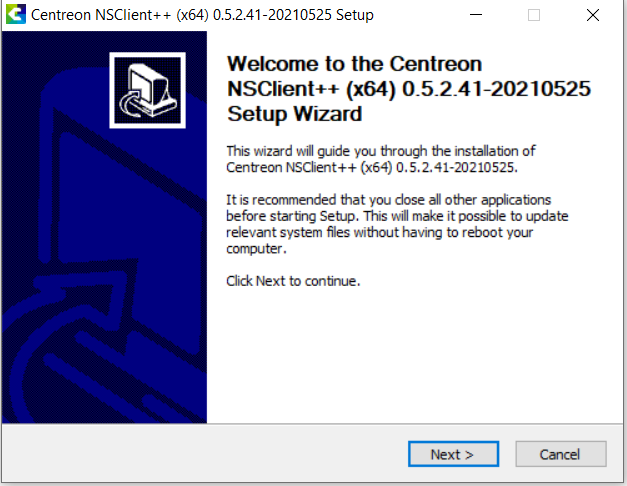
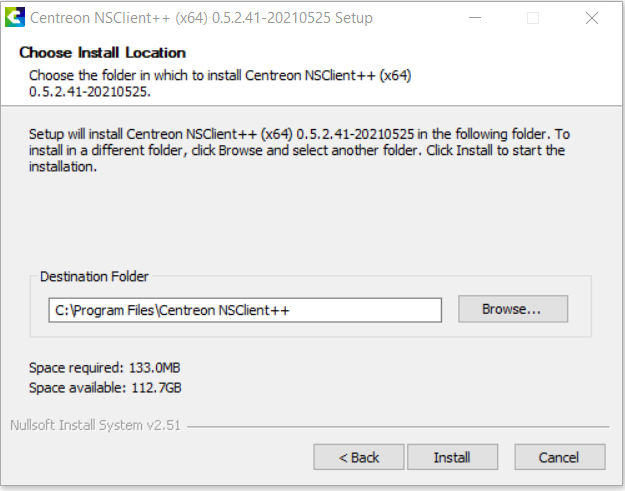
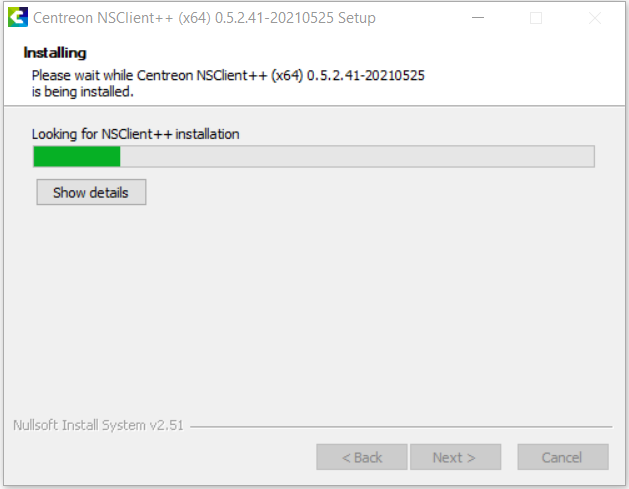
On the Windows server, launch the installation and follow the wizard:
- The first step gives some information about the NSClient++ version you're about to install. Click on Next to go on:
- Choose the installation folder and click on Next:
- Wait until the installation process is completed:
- Once the installation performed, click on Next once more:
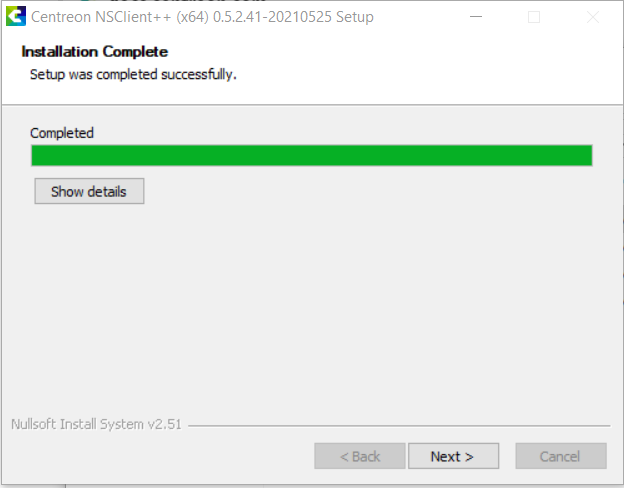
- The installation wizard should confirm that NSClient++ is installed and ready to rumble. Click on Finish:

Update
This chapter is related to the update of the custom packaged Plugins centreon_plugins.exe and check_logfiles on a server where centreon-nsclient is already installed.
When the new monthly version of centreon-nsclient is released, you don't have to fully reinstall the agent on your Windows server, only the packaged Plugins can be updated.
To do so, go to the directory where the centreon_plugins.exe and check_logfiles.exe binaries are stored (usually C:\Program Files\Centreon NSClient++\scripts\centreon)
and replace the two existing files with the new ones you downloaded from Github (see the Installation chapter).

Be careful to rename the new files with the exact same names of the former ones (remove the versioning part of the files names so the files will be named centreon_plugins.exe and check_logfiles.exe).
Configuration
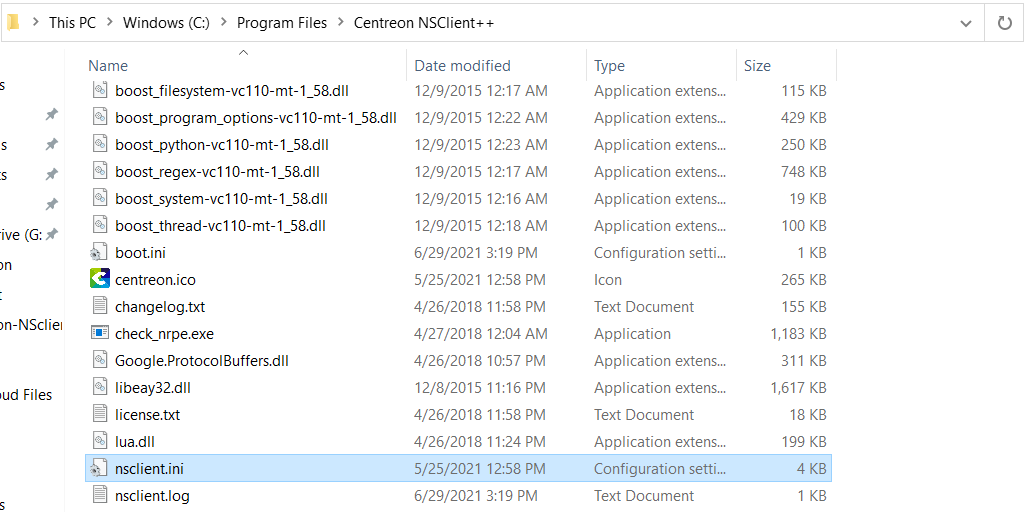
The general configuration, of the agent, its modules and the custom scripts to be used is stored in the nsclient.inifile, usually stored
in the C:\Program Files\Centreon NSClient++\ folder:
The default configuration comes with most of the features and options already enabled and ready-to-use. Nevertheless, Centreon recommends to adjust and/or set some additional parameters (mostly for safety purposes).
NRPE
In the [/modules] section, check that the NRPE server is enabled:
NRPEServer = 1
In the [/settings/NRPE/server] section:
- Set the IP addresses of the Centreon Pollers allowed to monitor the server:
allowed hosts = @IP_Poller1, @IP_Poller2
- Check that the TCP port to be used is 5666:
port = 5666
- Centreon recommends to secure the connections using the SSL/TLS protocols. To do so, check that the following option is enabled:
use ssl = true
- Check that the packet payload size is set to 8192:
payload length = 8192
- Finally, restart the NSClient++ service from a command line prompt:
net stop nscp
net start nscp
(This can also be done from the Services management console).
Webserver / RestAPI
NSClient++ does natively provide a Web Server, allowing to monitor the target Windows Server using the HTTPS protocol. Centreon recommends to use this method rather than the 'old' NRPE & NSCLIENT protocols, including the following benefits:
- This protocol comes secured by default
- Custom certificates can be used
- No compatibility issues between NRPE v2/v3 versions
Prerequisites
- The HTTPS port used by the Webserver (by default TCP/8443) must be open and reachable from the Centreon Poller.
- As for the NRPE protocol, the port and allowed hosts setting of the
nsclient.inifile (section/settings/WEB/server) must be set (the recommended port to be used is 8443 but you can use any custom ports >1024).
Enabling RestAPI and configuring credentials
To use the RestAPI feature of NSCLient++, you first have to enable the Webserver service:
- From a Windows command prompt launched as an administrator, run the following command:
nscp web install
- Then, configure a password to be used to access the API data:
nscp web -- password --set new-password
Password updated successfully, please restart nsclient++ for changes to affect.
You can also display the password you previously set if needed by running:
nscp web -- password --display
Current password: centreon
- Finally, still in the Windows command prompt interface, restart the NSCP service:
net stop nscp
net start nscp
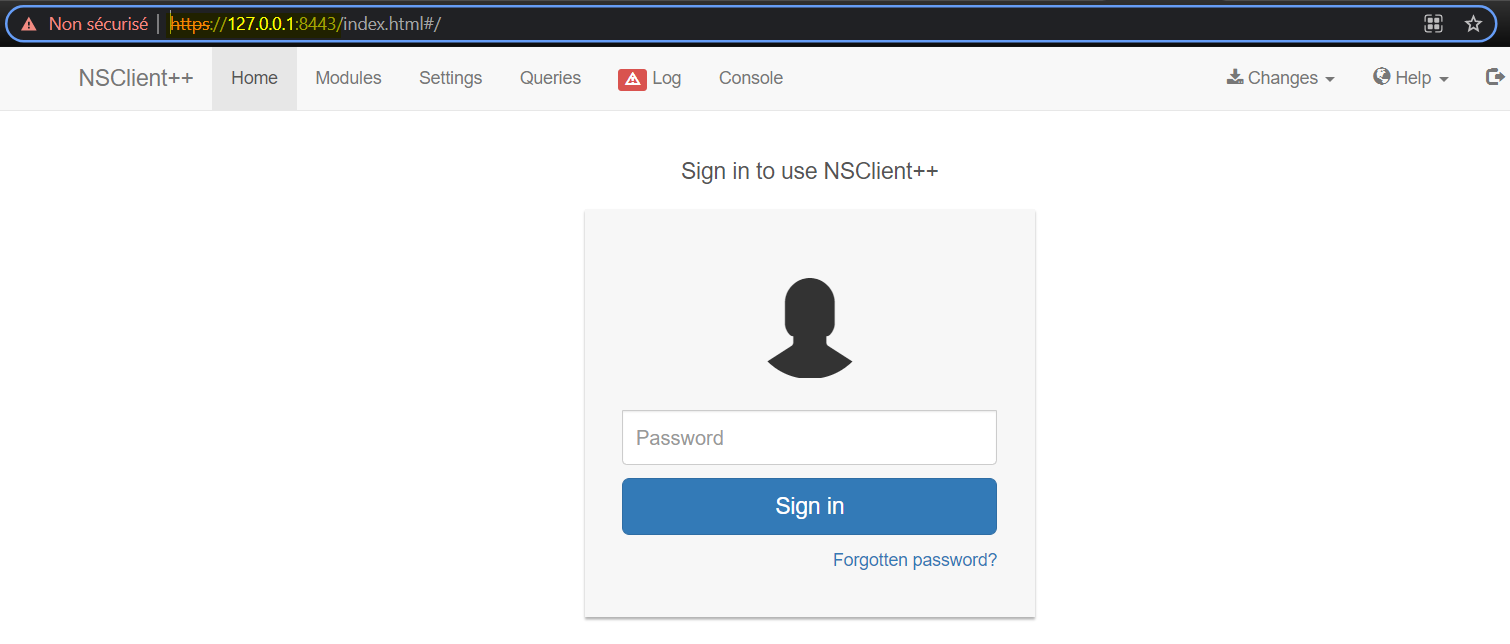
- To check that the Webserver is properly configured and running, open a web browser on the Windows server and access the Webserver interface:
https://127.0.0.1:8443/
Troubleshooting
Any issue related to the configuration of the agent and its usage, please refer to the wholesome official FAQ of NSClient++ that will help you to solve the most common issues.
Any concern or question about the centreon-nsclient packaging and the usage of the Centreon Plugins, feel free to open an issue on our Github project.